环境和依赖
lunarvim 的官方文档:
https://www.lunarvim.org/zh-Hans/docs/installation
笔者这里是Ubuntu 22
1 | fenix@thisway:~$ lsb_release -a |
1. Neovim
目前lunarvim要求neovim版本0.8.0 以上。
在这里可以找到:
https://github.com/neovim/neovim/releases/tag/stable
安装deb:
1 | rpm -ivh nvim-linux64.deb |
2. rust
安装依赖rust环境:
1 | curl --proto '=https' --tlsv1.2 -sSf https://sh.rustup.rs | sh |
rust默认的中央仓库如果访问较慢,可以在~/.cargo/config中配置一些国内镜像:
1 | [source.crates-io] |
3. 安装git,make,gcc,python,pip,node,npm
1 | sudo apt install git build-essential python3 python-pip nodejs npm |
安装lunarvim
执行脚本:
1 | LV_BRANCH='release-1.2/neovim-0.8' bash <(curl -s https://raw.githubusercontent.com/lunarvim/lunarvim/fc6873809934917b470bff1b072171879899a36b/utils/installer/install.sh) |
配置环境变量
1 | export PATH=/home/fenix/.local/bin:$PATH |
安装字体
安装最新版nerd-fonts
1 | wget -c https://github.com/ryanoasis/nerd-fonts/releases/download/{版本}/SourceCodePro.zip |
安装字体
1 | sudo unzip SourceCodePro -d /usr/share/fonts/SourceCodePro |
为你的终端配置字体为SourceCodePro,lunarvim的emoji和icon就可以正常显示了。
插件
执行vim后 :LvimUpdate 尝试更新插件
lsp语言插件
:TSInstall 后面接上语言,笔者这里就只安装Rust了。
执行
1 | :TSInstall rust |
可以看到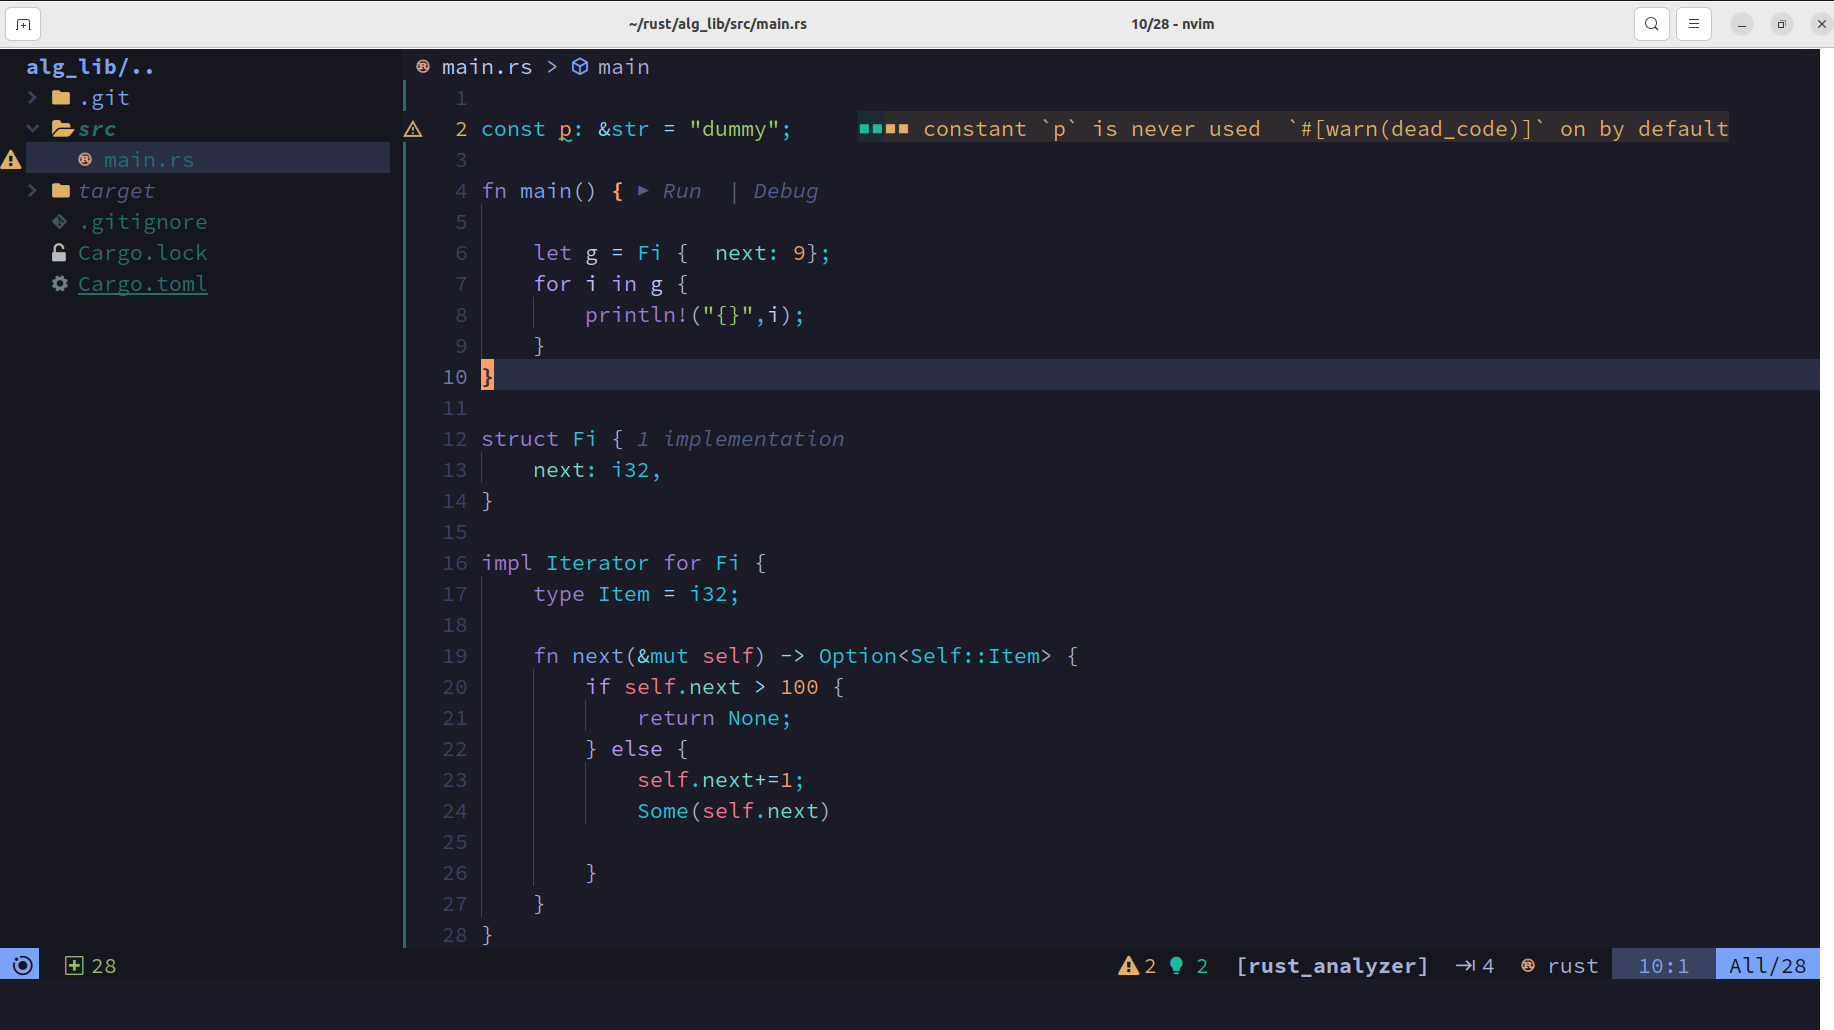
支持补全和注释显示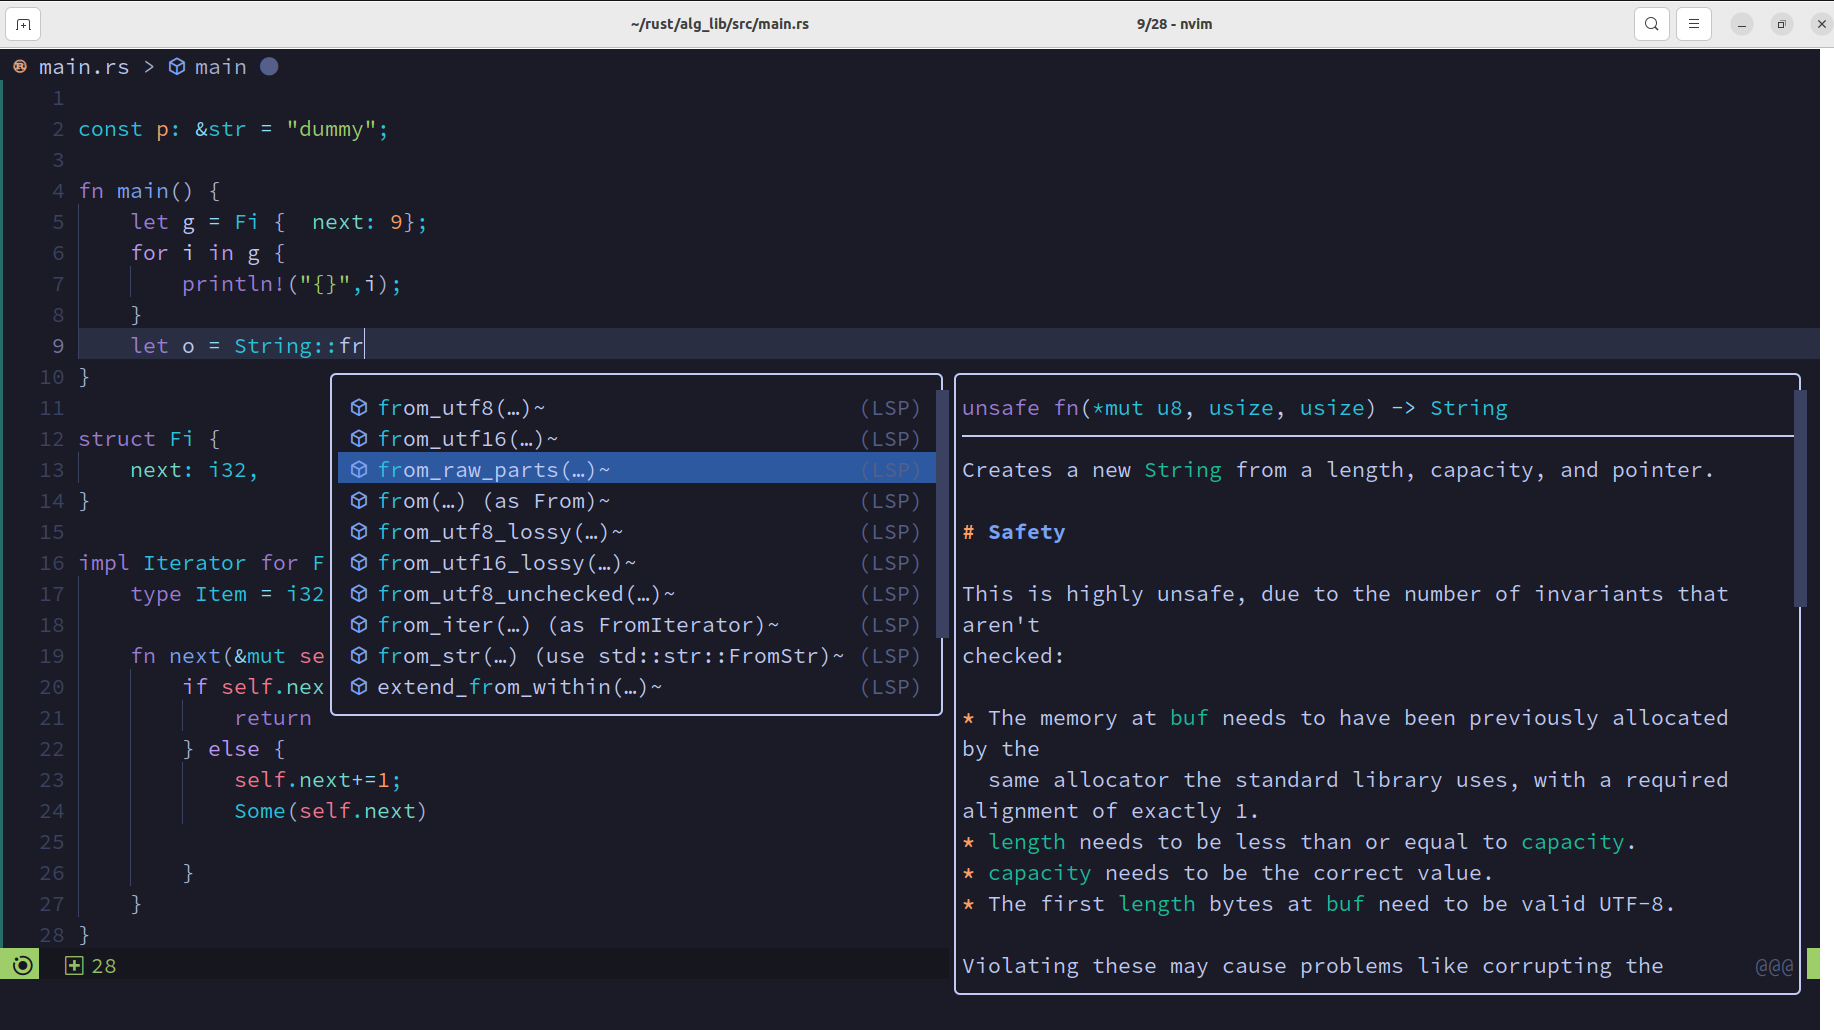
目前的版本还不支持inlay-hint,我们需要再配置几个插件
leader键 + L + c
找到:
1 | lvim.plugins = { |
添加rust-tools:
1 |
|
然后hint就可以在右边正常显示了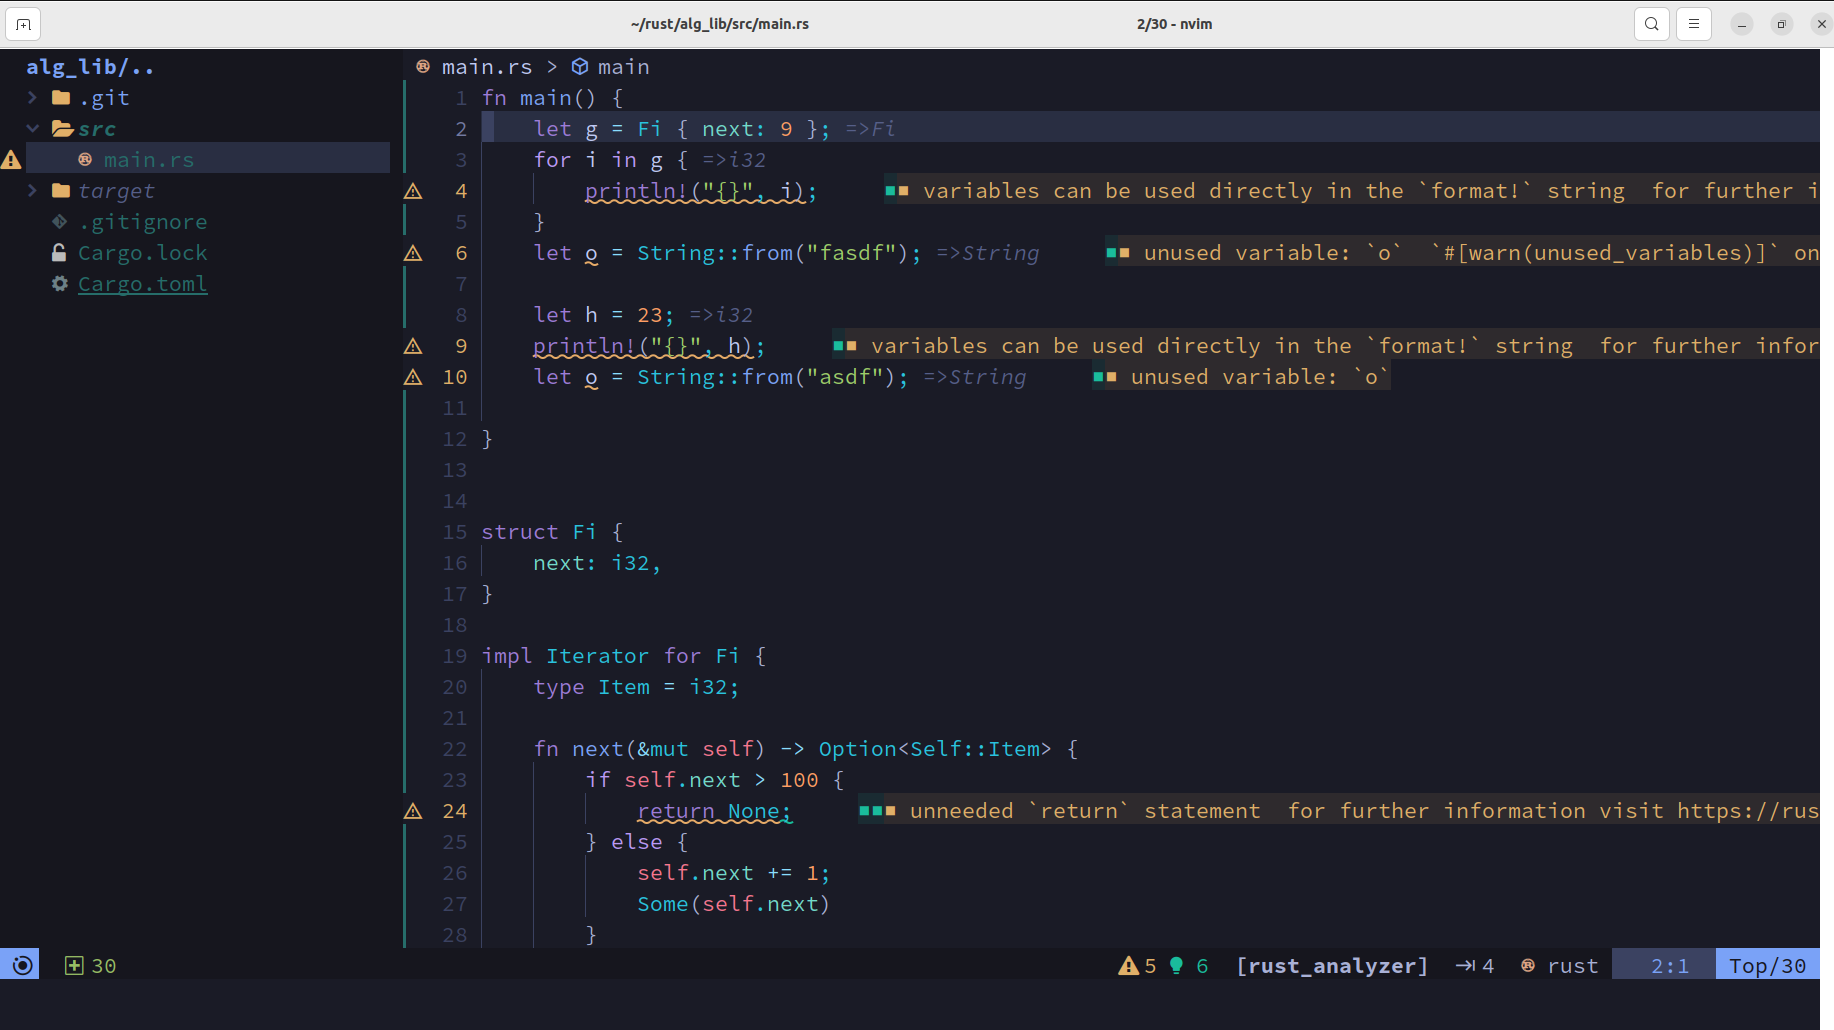
一些Rust用的命令
- 运行Rust代码
:RustRun - 展开宏
RustExpandMacro - 编译为IR
RustEmitIR
其他插件
此外还有一些比较常用的插件:
- markdown预览
1
2
3
4
5
6
7
8{
"iamcco/markdown-preview.nvim",
run = "cd app && npm install",
ft = "markdown",
config = function()
vim.g.mkdp_auto_start = 1
end,
}, - 自动保存
1
2
3
4
5
6{
"Pocco81/auto-save.nvim",
config = function()
require("auto-save").setup()
end,
},
neovide
neovide是一个Rust实现的neovim前端,非常炫酷,支持这样的cursor动态效果,丝滑滚动,窗口动画等
安装
我们这里就不自己编译了,这里下载二进制包
1 | https://github.com/neovide/neovide/releases/latest/download/neovide.tar.gz |
解压完成后
1 | mv neovide /usr/local/bin/ |
即可
然后配置我们的lvim脚本 ~/.local/bin/lvim
最后一行改为:
1 | exec -a lvim neovide "$@" -- -u "$LUNARVIM_BASE_DIR/init.lua" |
即可体验neovide下的lunarvim,直接执行lvim即可。
配置
配置可以在这里看到
https://neovide.dev/configuration.html
这里有完整的配置。配置文件就是lunarvim的配置文件,打开lvim后点leader键 + L + c
就是config.lua。将配置加到最后即可,目前笔者配置了下面几个:
1 | --透明度 |